Microsoft IIS 8 - Generate SSL certificate request (CSR)
Last updated on 06 Sep 2023, 13:20:14.
Category:
All about SSL certificates
CSR IIS 8 IIS 8.5 Windows server 2012 Windows server 2012 R2
Generate a CSR for Microsoft IIS 8 / 8.5 web server
This article shows you how to generate an SSL certificate request, also called a CSR, using the Management Console on Windows 2012 Server. If you received your certificate from the CA already, proceed to the IIS 8 SSL Certificate Installation Instructions.
How do I create an SSL certificate request on Microsoft IIS 8?
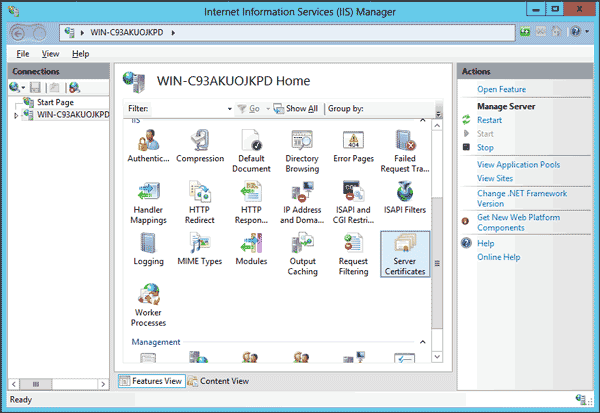
- Open the IIS console by clicking Start, then opening Administrative Tools, then Internet Information Services (IIS) Manager.
- Click on your server's name in the left pane.
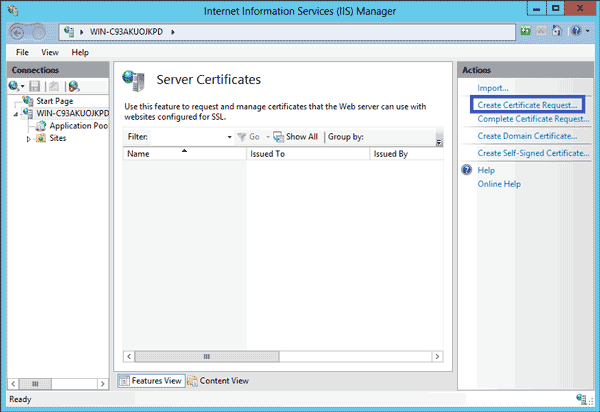
- In the center pane, double-click Server Certificates in the IIS section.
- In the Actions menu in the right pane, click on Create Certificate Request... to open the Certificate Request Wizard.
- Enter the following information in Distinguished Name Properties form that appears next:
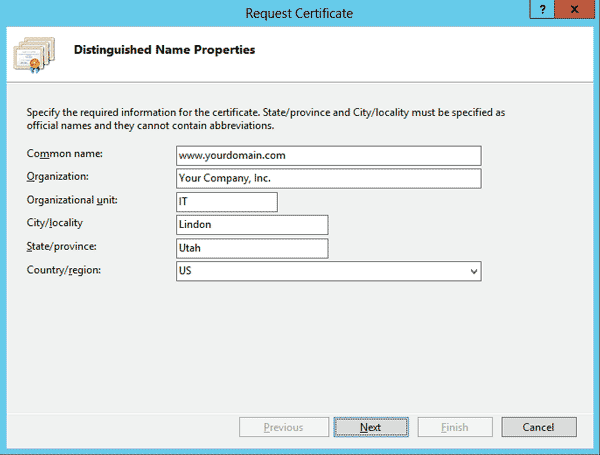
- Common Name - The fully qualified domain-name by which your site will be accessed, e.g. www.example .com. For a wildcard certificate request, use *.example.com.
- Organization - The legal name under which your company was registered or incorporated.
- Organizational Unit - The name of your department, or leave this field blank if you wish.
- City/locality - Your organization's city.
- State/province - Your organization's state or province. Do not use abbreviations!
- Country/region - The two-digit country code of your organization's country.
- In the Cryptographic Service Provider Properties form, enter the following information:
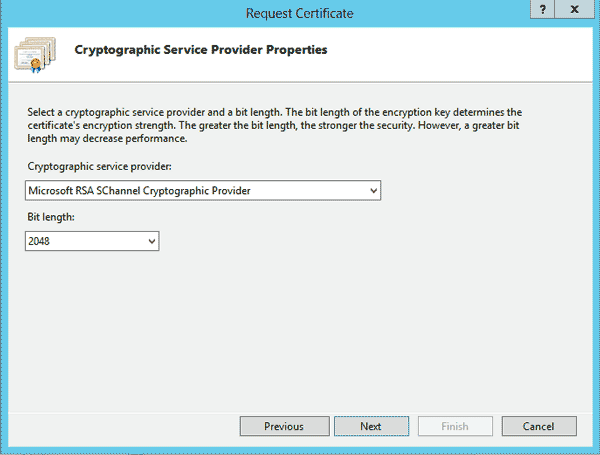
- Cryptographic Service Provider - Select Microsoft RSA Schannel Cryptographic Provider.
- Bit length - Select at least 2048 bits.
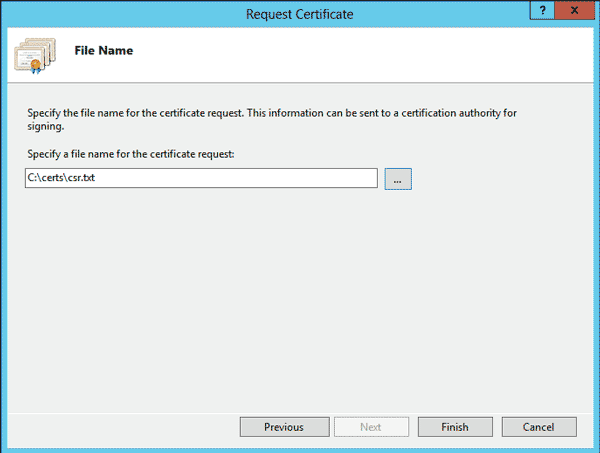
- In the File Name dialog, select where you want to save the CSR file. Next, look for the CSR you just saved with Windows Explorer, double-click it to open it, and copy the entire contents, including the BEGIN CERTIFICATE REQUEST and END CERTIFICATE REQUEST lines, into Kinamo's SSL Certificate Application form.
- After you receive your SSL certificate from the Certificate Authority, you can proceed with installation.